Purpose
This guide outlines how to share and engage with a view in the system.
Note: Only Views from the My Views section can be shared. However, Predefined Views from an Admin can be cloned and then shared.
Instructions
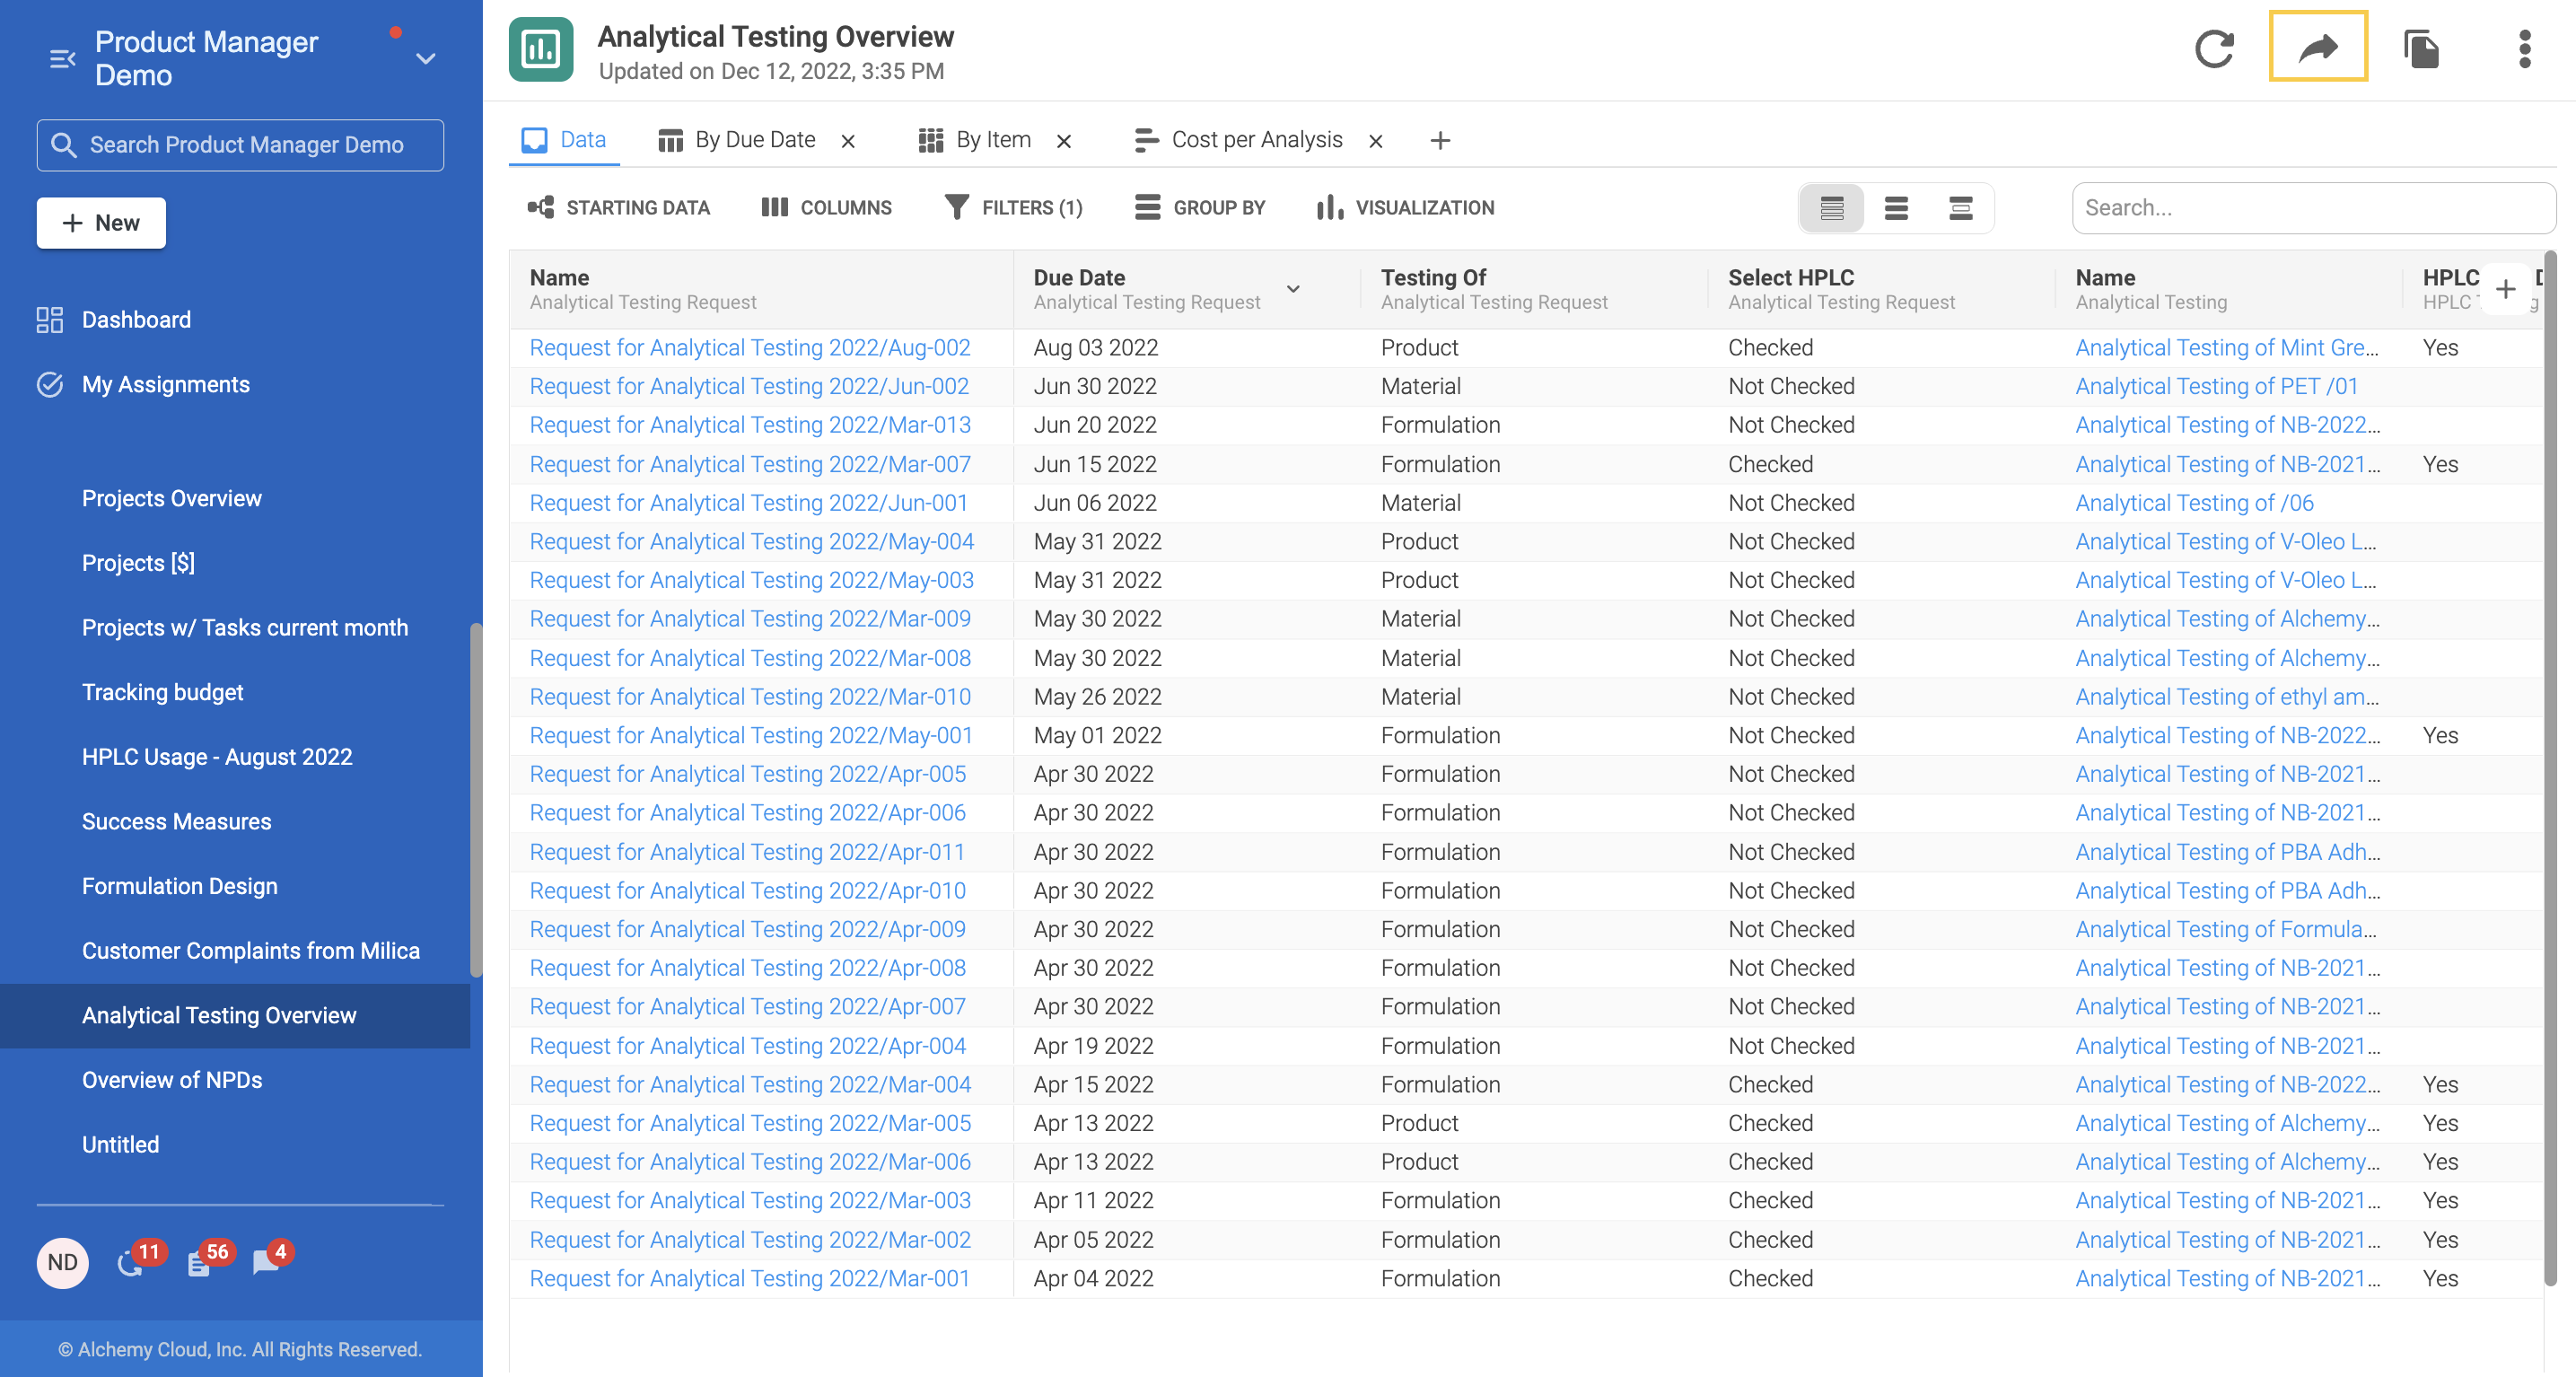
1. Click on the share arrow in the top right corner of the screen.
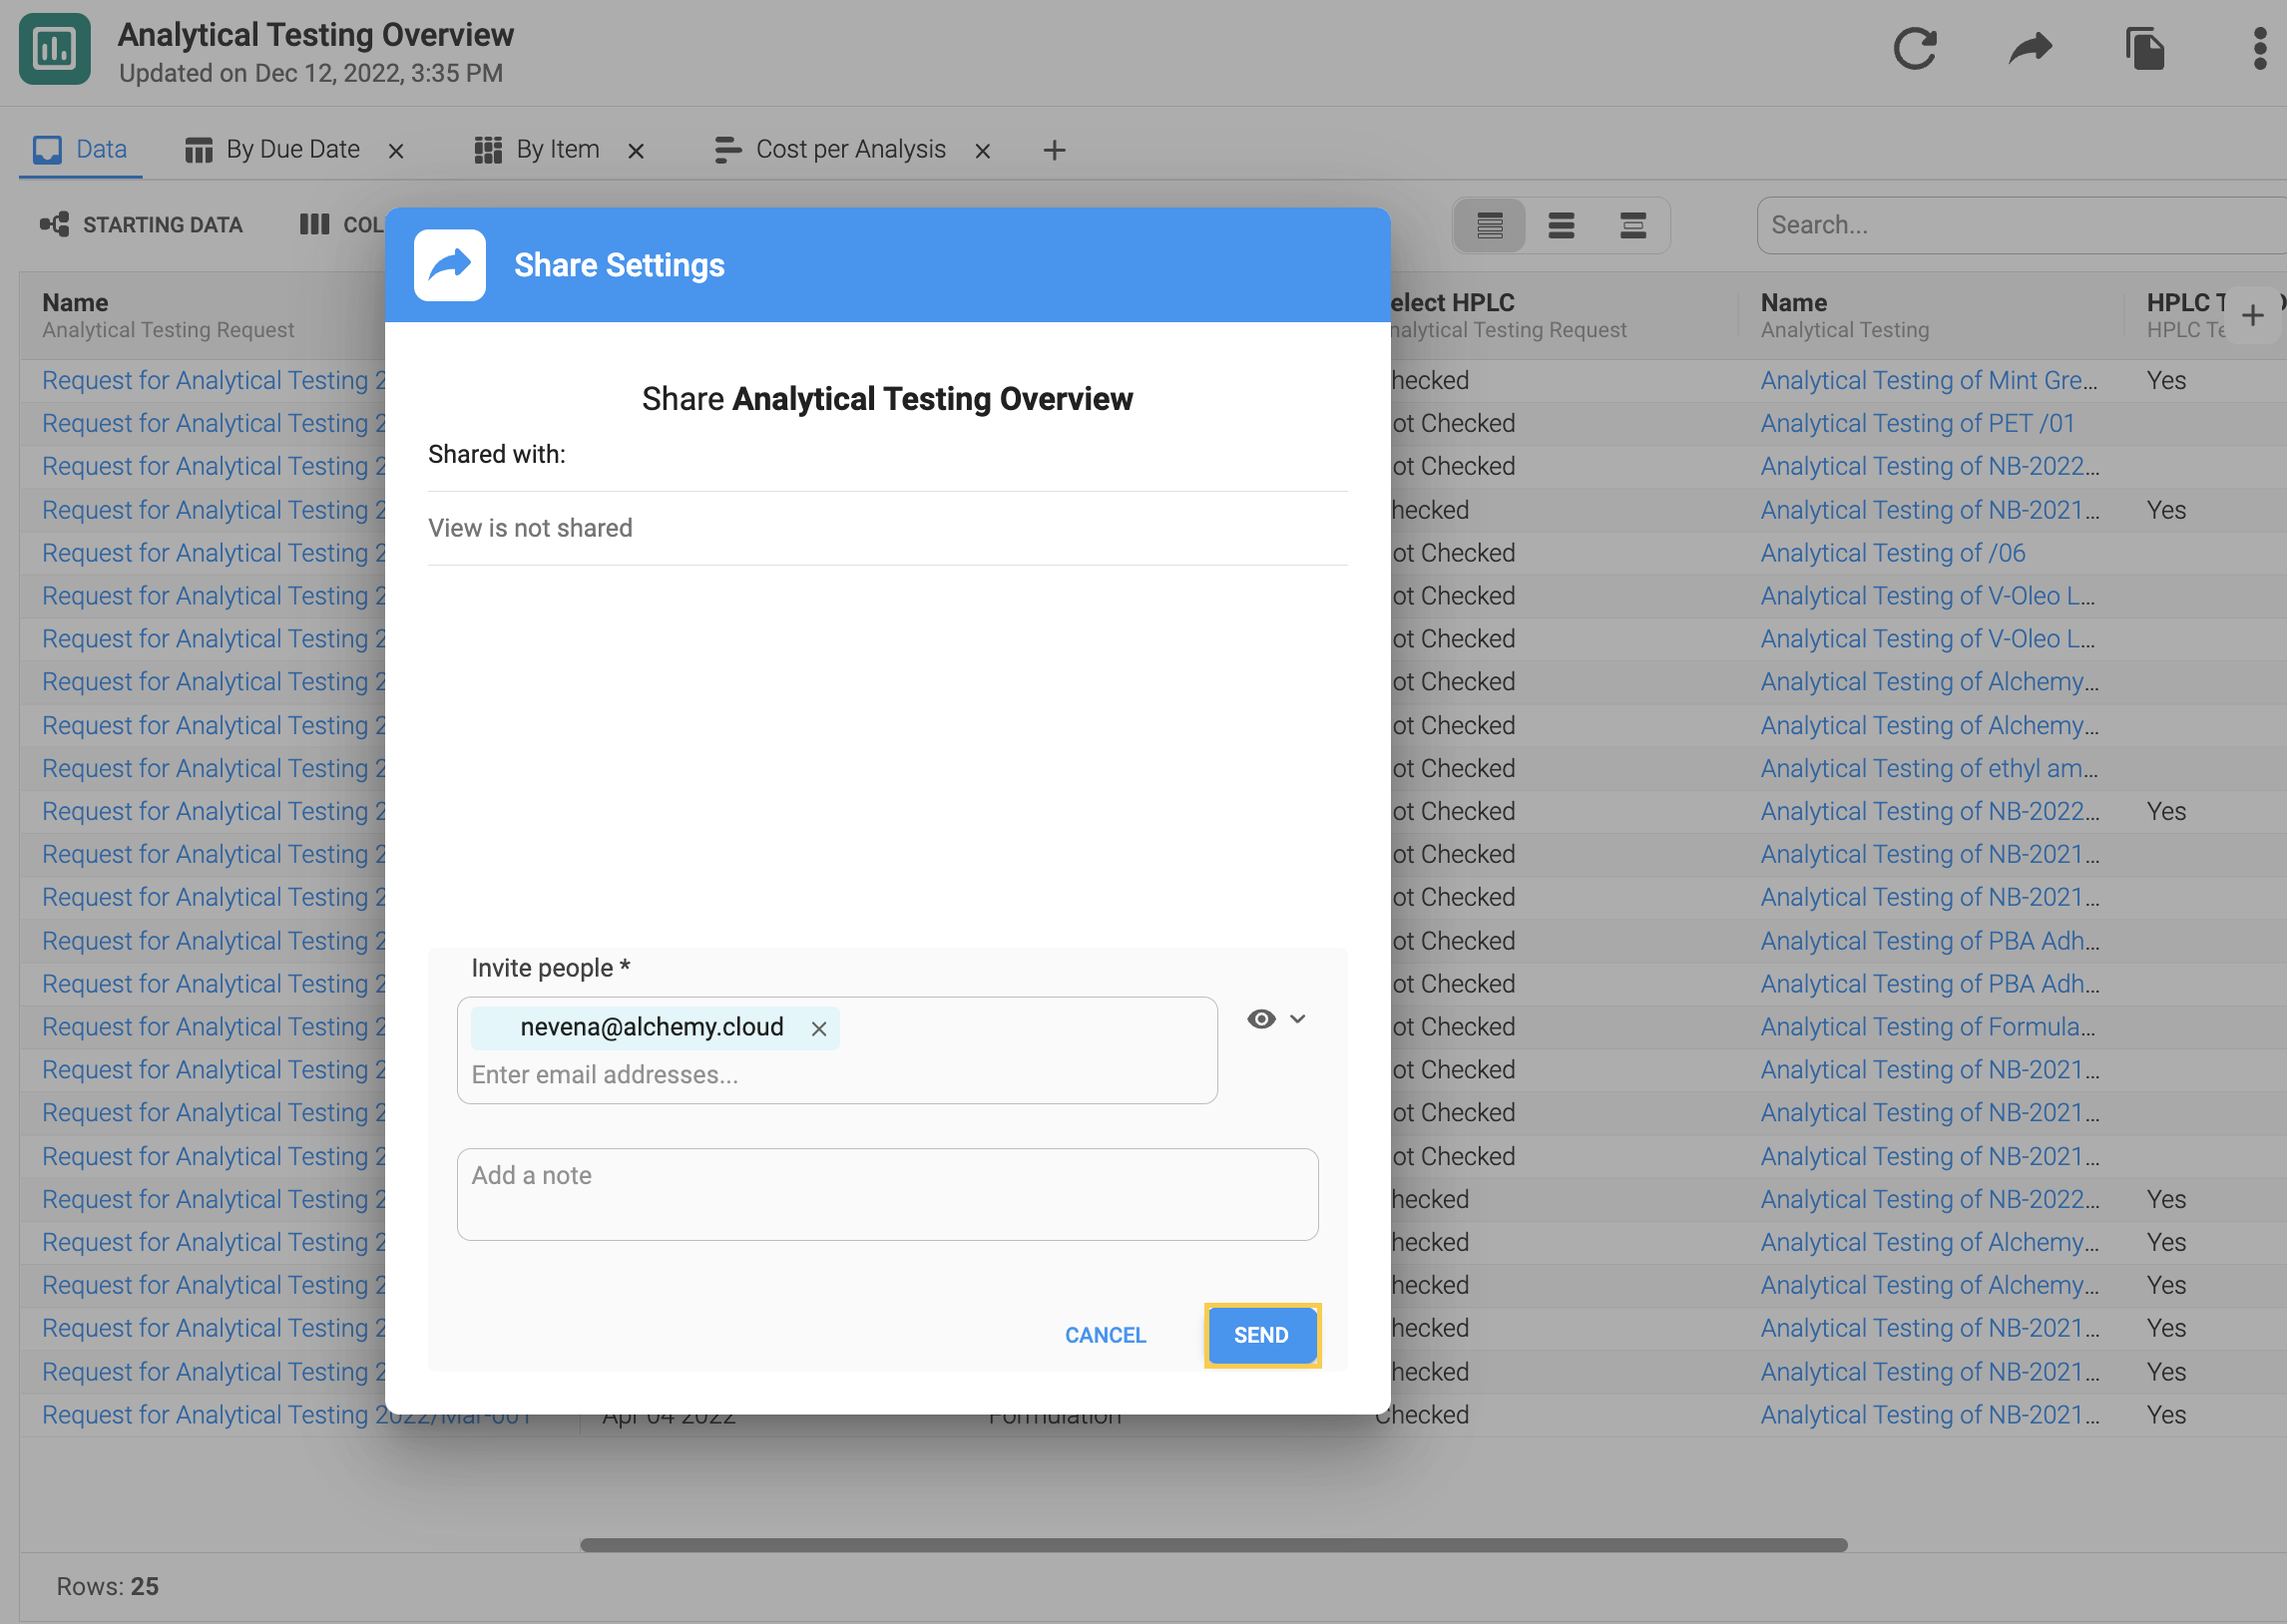
2. Enter any email addresses to share the view with other users. Type notes if necessary. Users will receive an email notification about the shared view with a link to access it. Notes will appear in the body of that email.

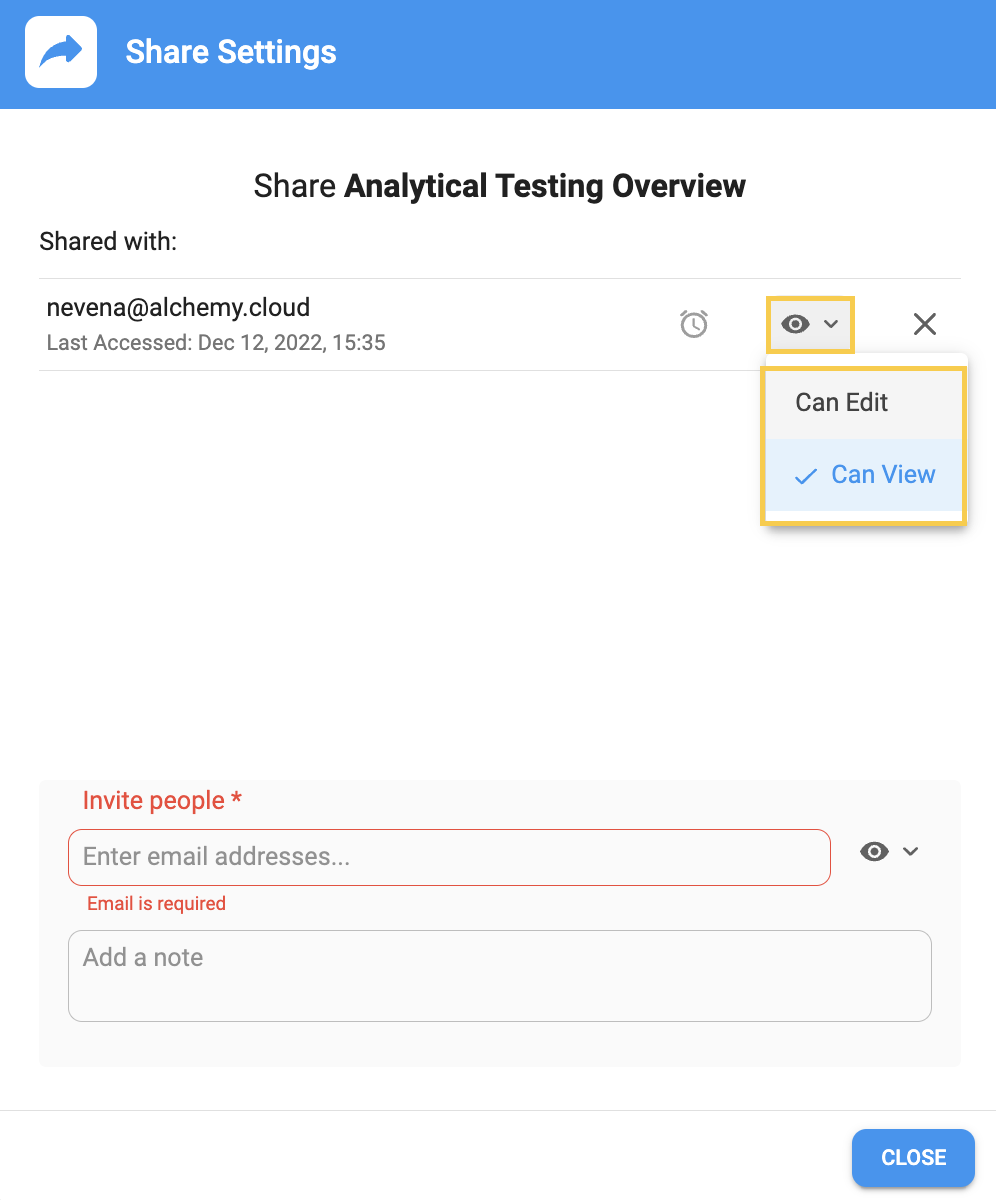
3. Set user privileges by clicking on the arrow next to the eye icon. Privileges can be set for a user to edit a view, or to have read-only access by selecting Can View from the dropdown.

4. Click on the Send button to share the view.
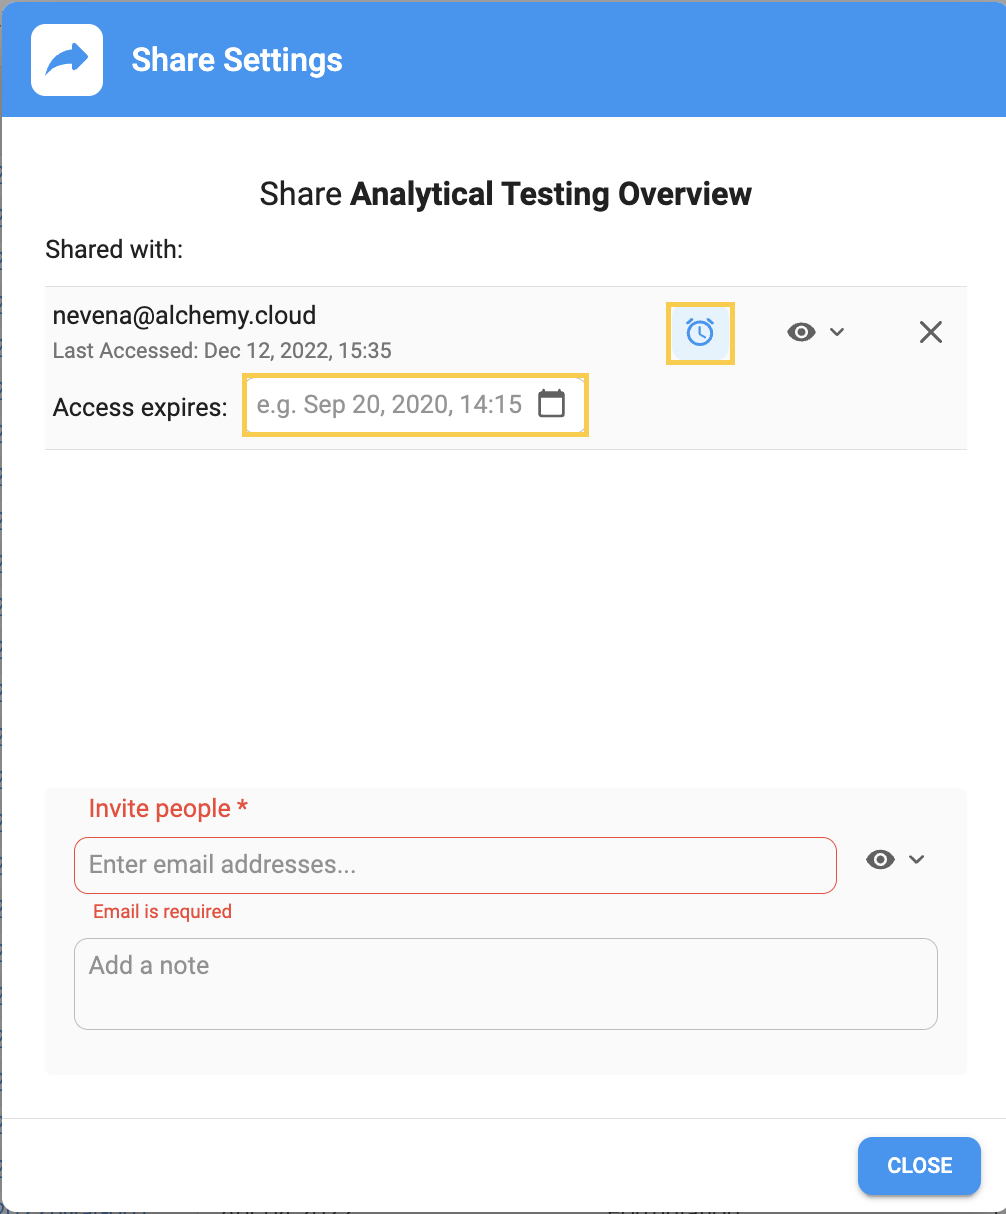
5. When the view is shared with a user, you can set the expiration date for access to that View. Click on the Share View icon in the upper right corner. A Share Settings modal will appear. Click on the Clock icon and set the expiration date.
6. Privileges can be adjusted by clicking the arrow next to an eye icon for each user.
7. To remove a user's access to the shared view, click on the X icon.

8. To apply the changes made, click on the Save Changes button.
